



Correct installation is what turns a quality adjustable steel prop into a safe support. A poorly set prop, even a certified one, can fail under load and endanger the whole pour.
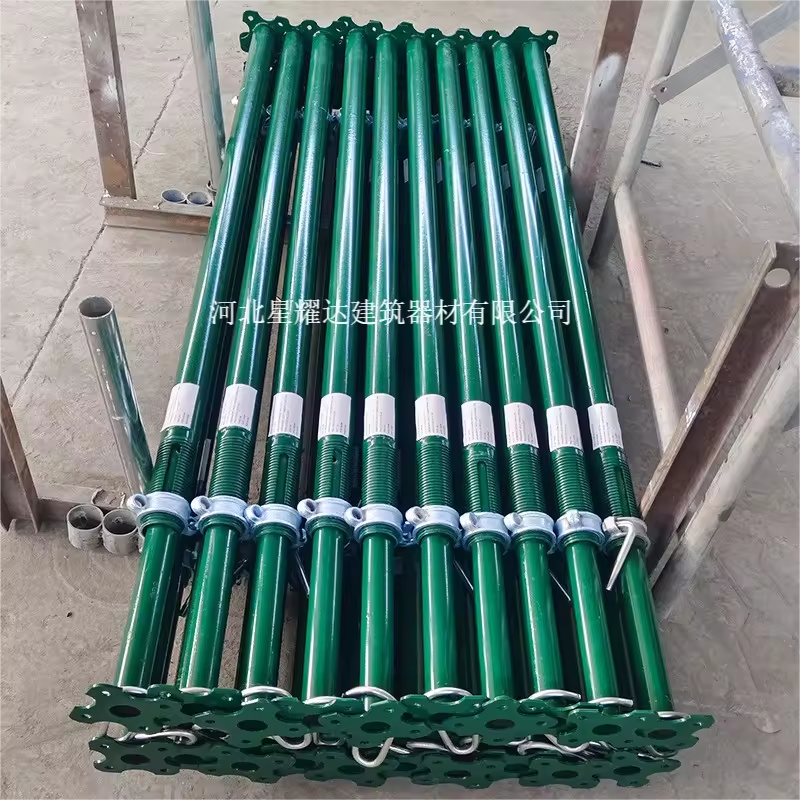
This step-by-step safety guide walks through installing a steel prop for formwork support, from base preparation to final inspection. It applies to shoring jack posts and telescopic props used on slab and beam work.
Follow these steps with XYD adjustable steel props, and always confirm loads with your structural engineer before the concrete is placed.
Before You Start: Plan the Grid
Installation begins on paper. Using the engineered design, mark where each prop sits, the spacing, and the required height. The plan must reflect the slab thickness, concrete weight, and the safe working load of each prop.
Never improvise prop spacing on site; load distribution is a calculated value, not a judgment call.
Step 1: Prepare a Solid Base
Place the prop on a firm, level surface. The base plate must sit flush, spreading the load without tipping. On soft ground, use a sole plate or timber pad to prevent sinking during the pour.
Step 2: Set the Height
Extend the inner tube to the needed height and lock it with the pin or threaded collar. The prop should be near vertical; avoid steep angles that create sideways thrust. For a shoring jack post under a beam, fit a U-head to cradle the beam securely.
Step 3: Check Load Rating and Bracing
Confirm the prop's safe working load covers the intended load with the required safety factor. Where props are tall or closely spaced, add scaffolding-style bracing to prevent overturning.
Key checks:
Vertical orientation within tolerance.
Pin fully engaged and secured.
Base and top plates fully bearing.
Bracing fitted for height and layout.
No overloaded or bent components.
Step 4: Inspect Before the Pour
Before concrete placement, walk the grid. Look for loose pins, uneven bases, or damaged tubes. A galvanized or painted XYD prop with visible deformation should be withdrawn from service immediately.
| Inspection point | Pass criteria |
|---|---|
| Base | Firm, level, fully bearing |
| Tube | No dents, bends, or cracks |
| Lock pin | Engaged and secured |
| Top support | Beam or plate seated correctly |
| Bracing | Present where required |
Step 5: Striking (Removal)
Only remove props after the concrete reaches the specified curing strength, as defined by the engineer. Strike from the top down or per the approved sequence to avoid sudden loads on partially cured slabs.
Frequently Asked Questions
Conclusion
Safe adjustable steel prop installation is a discipline: plan the grid, set a solid base, lock the height, brace as needed, and inspect before the pour. These steps protect both the structure and the crew.
For load data and installation guidance on XYD steel props, contact the team at www.xydsteelprops.com.